Sanding vs varnish stripping

The other week I had a go at stripping and re-varnishing a large window frame, which was looking a bit rubbish. It still looks a bit rubbish, but less so. This is what I learnt:

  • Doing this properly is a heck of a lot of work, regardless of how you do it. Even once you’ve got the original varnish off, you have to varnish, sand back a bit, varnish again, sand back again, and then varnish a third time. You might also have to sand a third time, I’m not sure because I skipped the sanding entirely, which is probably why the windowsill is not smooth. Also I suspect my brush technique wasn’t great.
  • Varnish stripper is pretty much useless if the varnish is dried and cracked, but in this state the wood should be pretty easy to sand.
  • Varnish stripper works a lot better on decent condition varnish (or paint), but you have to use a lot and it gives off some horrible fumes. Unless you’re using it on a very small surface, and outdoors, you should use a ventilator mask (NOT a dust mask – they don’t block fumes). Some of them shouldn’t be used indoors at all – check the label.
  • It does work surprisingly quickly, though – if it’s going to work, the varnish will start bubbling within a minute or two, and be done within about half an hour. You still have to scrape everything off, though.
  • It sounds sensible to use coarse sandpaper if you’re sanding, but it will leave a lot of very visible little scratches which take forever to get out and will show under the varnish. Sanders with a rotary action seem to be particularly bad for this.
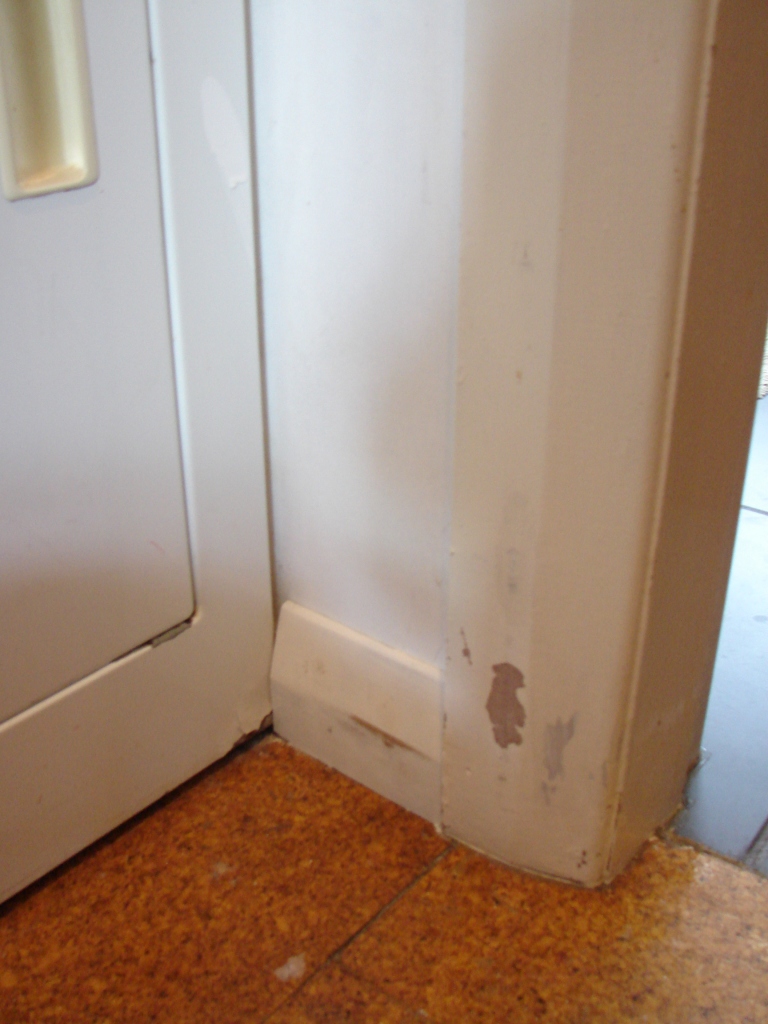
  • Old, stained wood will usually still be stained under the varnish. You might be able to sand it down to a consistent colour, but not necessarily. It’s probably best to just accept that old things look old.
  • A few days spent re-varnishing makes painted wood seem much more appealing.

In which I fail at many things

I haven’t posted in ages and ages and ages, even though I’ve been doing heaps of DIY, because things keep going wrong. Either what I’m working on completely doesn’t work, or it more or less works in the end, but it’s not exactly something I want to show off.

So here are some of the things which I took photos of, but either didn’t manage to finish or I thought ‘yeah, let’s not show what I ended up doing with this’.

blog 005
Here’s the chair which I thought I could fix until a crucial metal bit broke, and then I couldn’t find a replacement. 
blog 012
Here’s the cat being unhelpful, and also unphotogenic. 
blog 018
Here’s the varnish stripper being ineffective.
DSC00255
Here’s the skirting I installed in the laundry, before finding out that the doorframe next to it is painted some random shade of white found nowhere else in the house.

An apartment designed by someone who doesn’t know what bathrooms are for

En suite bathrooms are always a bit dicey – there’s only so much a door can muffle the sound of what you’re doing in there. But the designers of this Wellington apartment have not even tried. That’s a GLASS DOOR to the en suite. A GLASS DOOR. So when you’re lying in bed and your partner / fling / one night stand is in the bathroom, peeing or whatever, you will not only be able to hear every splash and tinkle but you’ll pretty much be able to see it as well.

The world’s most aggravating tap, part 2: success!

I posted a while ago about how fixing our hose tap turned into an annoying epic of return visits to the hardware store and general failure, resulting in us removing the tap completely.

It turned out that none of the things I bought at that stage were the right ones (except the actual tap). Then once I worked out what I did need, it rained for two and a half weekends.

This weekend it was sunny, and Lo! We got the new tap fitted and in place with no drama or leaks. Also the tap is now in a much better position.

So now I sort of know how pipes fit together, but only sort of. The only lesson to be taken from this is that plumbing is really f–king aggravating.

The world’s most aggravating tap

A while ago I realised that the reason the back courtyard was always damp and full of puddles wasn’t that it was a wet winter, it was because the hose tap has a rapid drip. So I went out and bought a mixed pack of washers, and Lovely Husband (LH) looked up some tap-fixing tutorials on youtube.

Problem one: Where is the mains connection??

The first step in fixing a tap is turning off the water supply, via the mains connection on or near the street. So we looked on the street. We looked on the footpath. We looked every damn where and couldn’t find it. We called the plumber, who said it was on the gravel path that goes from our neighbour’s front gate to the footpath.

Under here, somewhere.

Continue reading “The world’s most aggravating tap”